
Aprilaire 700 Installation Manual: A Comprehensive Plan
This manual details the Aprilaire 700’s setup, covering preparation, mounting, wiring, and maintenance—including troubleshooting and warranty details for optimal performance.
Understanding the Aprilaire 700
The Aprilaire 700 is a whole-house humidifier designed to add moisture to your home’s air during dry heating seasons. It integrates with your existing forced-air heating and cooling system, utilizing the furnace blower to distribute humidified air throughout your ductwork. Understanding its components – the water panel, control board, and water supply connection – is crucial for successful installation.
This system aims to alleviate dry skin, static electricity, and potential damage to wood furnishings. Proper operation relies on consistent water supply and a functioning drain line, ensuring efficient and comfortable humidity control.
Key Features and Benefits
The Aprilaire 700 boasts several key features, including automatic humidity control, adjustable settings, and a durable construction for long-lasting performance. Benefits include improved indoor air quality, reduced static electricity, and protection for wood floors and furniture.
Its efficient design minimizes water waste, while the integrated control system allows for precise humidity level management. Enjoy enhanced comfort and health during dry winter months with this reliable whole-house humidification solution.
Package Contents Verification
Upon receiving your Aprilaire 700, carefully verify all components are present. The package should include the humidifier unit, a mounting bracket, a water panel, and the control board.
Also, confirm the inclusion of the water supply connector, drain line fittings, and this installation manual. Inspect each item for any shipping damage before proceeding. A complete inventory ensures a smooth installation process and avoids delays due to missing parts.
Installation Preparation
Proper preparation is crucial for a successful Aprilaire 700 installation. This involves gathering necessary tools, prioritizing safety, and confirming system compatibility.
Tools Required for Installation
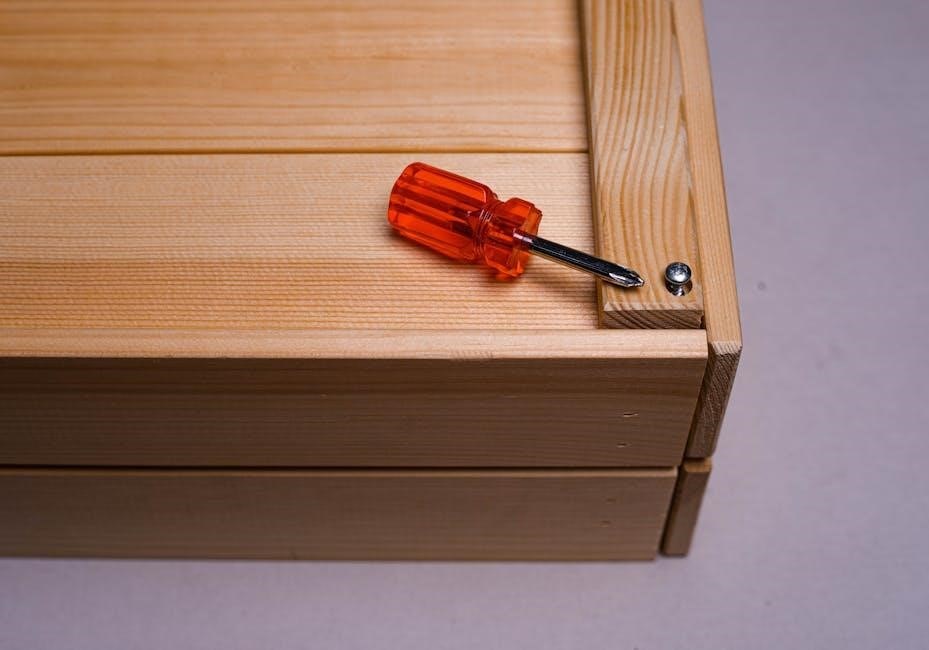
Successfully installing the Aprilaire 700 requires a specific set of tools. You’ll need a screwdriver set (Phillips and flathead), wire strippers, pliers, a drill with appropriate bits for your wall type, a level to ensure proper mounting, and a wrench for water line connections.
Additionally, a multimeter is helpful for electrical checks, and a tubing cutter is essential for precise water line adjustments. Safety glasses and work gloves are also recommended for personal protection during the installation process.
Safety Precautions
Prioritize safety during Aprilaire 700 installation. Always disconnect power to your HVAC system at the breaker before commencing any electrical work. Wear safety glasses to protect your eyes from debris and gloves to safeguard your hands.
Exercise caution when drilling or cutting into walls, ensuring no hidden wiring or plumbing is present. Properly ground the humidifier to prevent electrical shock. Follow all local building codes and regulations throughout the installation process.
System Compatibility Check
Before installation, verify your HVAC system’s compatibility with the Aprilaire 700. Confirm your furnace has a compatible control board and sufficient airflow for optimal humidifier performance.
Ensure your existing ductwork can accommodate the humidifier’s water panel and doesn’t restrict airflow. Check the furnace’s voltage requirements align with the Aprilaire 700’s power supply needs. Incompatible systems may require modifications or adapters.

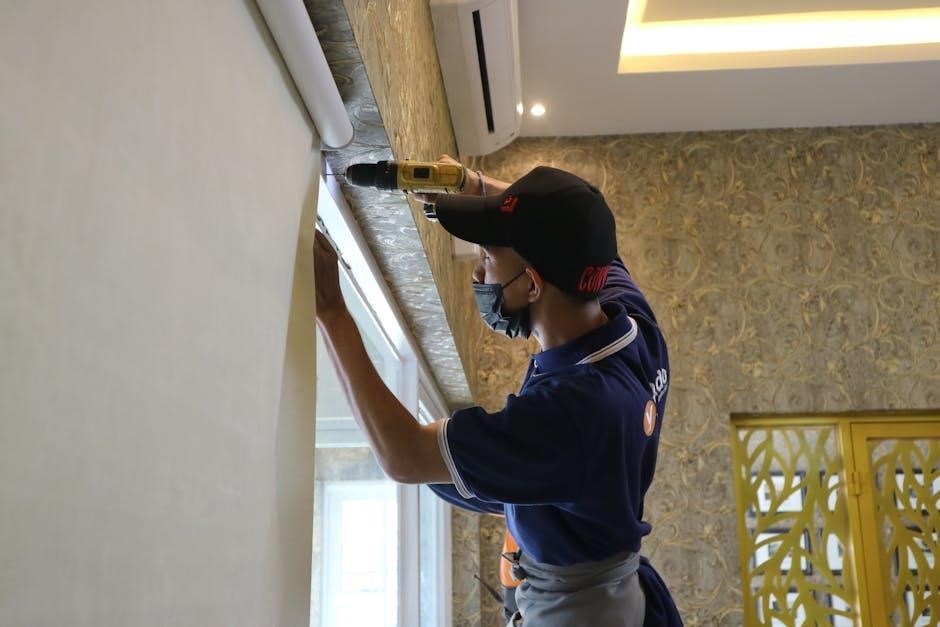
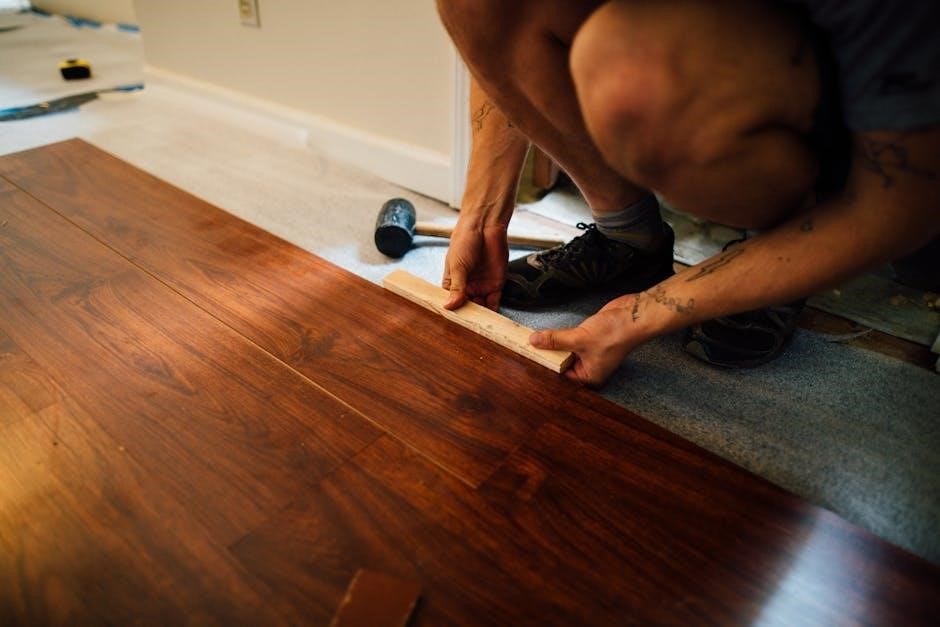
Mounting the Aprilaire 700
Securely mount the Aprilaire 700 to a wall near the furnace, ensuring proper airflow and accessibility for maintenance and future servicing.
Choosing the Optimal Location
Selecting the right location is crucial for efficient operation; The Aprilaire 700 should be mounted close to your furnace and the main water supply line, minimizing pipe runs.
Ensure adequate space around the unit for pad installation and future maintenance access. Avoid areas prone to freezing temperatures or excessive moisture. Consider proximity to a suitable drain line for proper water disposal.
A level surface is essential for stable mounting and preventing water spillage.
Wall Mounting Procedure
Begin by marking the mounting holes on the wall, ensuring they align with the Aprilaire 700’s mounting bracket. Use a level to guarantee a straight installation.
Drill pilot holes and insert appropriate wall anchors, capable of supporting the unit’s weight when filled with water. Carefully position the mounting bracket and secure it with screws.
Gently lift the Aprilaire 700 onto the bracket, verifying it’s firmly seated and stable before proceeding with further connections.
Securing the Unit
After mounting the bracket, ensure the Aprilaire 700 is firmly attached. Most models feature a locking mechanism or screws to prevent accidental dislodgement.
Double-check that all screws are tightened securely, but avoid over-tightening, which could damage the unit or the wall.
Gently test the stability of the humidifier, confirming it won’t wobble or shift during operation, especially when the water reservoir is full.
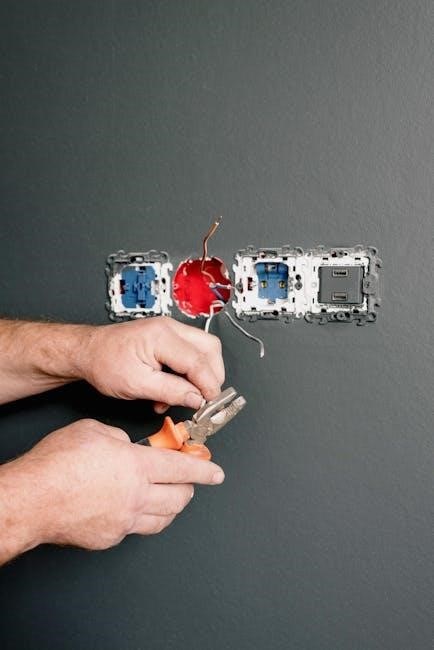
Wiring and Electrical Connections
Proper wiring is crucial for safe operation. This section details power requirements, diagrams, and connecting the humidifier to your existing HVAC system.
Power Supply Requirements
The Aprilaire 700 typically requires a standard 120V, 60Hz electrical supply. Ensure the circuit is dedicated and protected by a properly sized circuit breaker to prevent overloading.
Verify the electrical outlet is grounded and meets local electrical codes. Avoid using extension cords; a direct connection is recommended. Consult a qualified electrician if you are unsure about your home’s electrical capacity or wiring configuration before proceeding with the installation.
Wiring Diagram Explanation
The wiring diagram illustrates connections between the Aprilaire 700, the HVAC system, and the power source. Typically, it shows connections for the transformer, humidistat, solenoid valve, and fan control.
Carefully follow the diagram, matching wire colors and terminal designations. Incorrect wiring can damage the unit or HVAC system. If unsure, consult a qualified HVAC technician for assistance before making any connections.
Connecting to Existing HVAC System
Integrating the Aprilaire 700 requires connecting it to your furnace’s control board. This usually involves linking the humidifier’s control wires to the furnace’s ‘humidifier’ or ‘auxiliary’ terminals.
Ensure the furnace is powered off during connection. Proper connection activates the humidifier when the furnace fan runs, distributing moisture. Verify compatibility and consult your furnace manual for specific wiring instructions.

Humidifier Pad Installation
Proper pad installation is crucial for efficient moisture distribution. Select the correct pad type and size, ensuring it fits snugly within the humidifier housing for optimal performance.
Pad Type and Size
Selecting the appropriate humidifier pad is paramount for the Aprilaire 700’s functionality. Typically, models utilize a specific evaporative pad designed for optimal water absorption and airflow.
Ensure the pad’s dimensions precisely match the humidifier’s specifications; incorrect sizing hinders performance. Common pad materials include wood excelsior or synthetic fibers. Refer to your model’s documentation to confirm the correct replacement pad type and dimensions before installation, guaranteeing efficient humidification.
Pad Installation Steps
Begin by carefully removing the old pad, noting its orientation for reference. Ensure the water panel area is clean and free of debris before installing the new pad.
Align the new pad correctly within the humidifier housing, ensuring a snug fit. Secure the pad according to the manufacturer’s instructions, typically involving clips or retaining mechanisms. Verify proper pad saturation during initial startup to confirm adequate water distribution and efficient operation;
Water Panel Preparation
Before pad installation, thoroughly inspect the water panel for any scale buildup or mineral deposits. Clean the panel using a mild vinegar solution to dissolve any obstructions, ensuring optimal water flow.
Rinse the panel completely with clean water to remove all traces of vinegar. Verify that all water distribution holes are clear and unobstructed, promoting even pad saturation. A clean water panel is crucial for efficient humidification and preventing system issues.
Water Supply Connection
Connect a suitable water line, ensuring compliance with local plumbing codes. Thoroughly test for leaks after connection, verifying a secure and reliable water supply.
Water Line Requirements
The Aprilaire 700 requires a cold water supply line, typically ¼ inch in diameter, connected to a potable water source with a minimum water pressure of 20 PSI and a maximum of 80 PSI.
Utilize appropriate fittings and tubing compatible with the humidifier system. Avoid using galvanized steel pipes, as they can corrode and restrict water flow. A shut-off valve is essential for easy maintenance and water supply control during installation and future servicing.
Connecting the Water Supply Line
Carefully connect the ¼ inch tubing from the humidifier to the cold water supply line using appropriate compression fittings. Ensure a secure, leak-proof connection.
Before fully tightening, gently pull on the tubing to verify it’s firmly seated. Slowly open the water supply valve, checking for any leaks at the connection points. Tighten fittings as needed to eliminate any drips or moisture.
Leak Testing Procedures
After connecting the water supply, thoroughly inspect all connections for leaks. Slowly turn on the water supply and carefully examine the tubing, fittings, and humidifier base for any signs of moisture.
Use a paper towel to wipe around each connection, revealing even small drips. Tighten any leaking fittings slightly, retesting until completely dry. Monitor the system for at least 15 minutes to confirm leak-free operation.
Drain Line Installation
Proper drain line routing prevents water damage. Connect the drain line securely, ensuring a consistent downward slope for effective and reliable drainage.
Drain Line Routing
Careful drain line routing is crucial to prevent water backups and potential damage. The line should consistently slope downwards from the humidifier unit to the designated drain location. Avoid sharp bends or kinks that could restrict water flow.
Route the drain line through accessible areas for future maintenance and inspection. Consider the shortest, most direct path to minimize the risk of clogs. Ensure the line is secured to prevent movement or disconnections.
Connecting the Drain Line
Securely connect the drain line to the humidifier’s drain outlet using a compatible fitting, ensuring a watertight seal. Then, connect the other end to a suitable drain—a floor drain, standpipe, or laundry tub.
Use appropriate clamps to reinforce the connections and prevent leaks. Verify the drain can handle the expected water volume. Double-check all connections before proceeding to the next step for optimal performance.
Ensuring Proper Drainage
Confirm the drain line maintains a consistent downward slope throughout its entire length to facilitate gravity-driven water flow. Avoid any kinks or obstructions that could impede drainage, potentially causing water backup and humidifier malfunction.
Periodically inspect the drain line for clogs or buildup. Proper drainage is crucial for preventing water damage and maintaining the humidifier’s efficiency and longevity.
Control Board Setup
The control board manages humidity. Setting desired levels and testing the system ensures optimal performance and responsiveness to household humidity needs.
Control Board Overview
The Aprilaire 700’s control board is the central hub for managing your whole-house humidification system. It features a user-friendly interface allowing precise humidity level adjustments.
Key components include the humidity sensor, display screen, and control buttons. The board receives signals from the humidity sensor, compares it to the setpoint, and activates or deactivates the humidifier accordingly. Proper functionality is crucial for maintaining comfortable and healthy indoor air quality.
Setting Humidity Levels
Adjusting humidity levels on the Aprilaire 700 control board is straightforward. Use the up and down arrow buttons to select your desired percentage, typically between 30% and 60%.
Consider your home’s construction and climate when choosing a setting. Lower humidity prevents condensation, while higher levels alleviate dryness. Monitor indoor conditions and adjust accordingly for optimal comfort and to prevent potential issues like mold growth.
Testing the Control System
After setup, thoroughly test the Aprilaire 700’s control system. Manually activate the humidifier and verify the water supply valve opens and closes correctly.
Observe the humidifier pad for even saturation. Use a humidity meter to confirm the system accurately reaches the setpoint. Cycle through different humidity levels to ensure responsive operation. Address any discrepancies before finalizing the installation for reliable performance.
Final Checks and Startup
Before operation, flush the system to remove debris. Initiate startup, then closely monitor performance, verifying humidity levels and water flow for optimal function.
System Flush Procedure
Prior to initial startup, a thorough system flush is crucial; This removes any debris or contaminants introduced during installation, preventing potential damage to the humidifier and ensuring optimal performance. Carefully open the water supply valve to the humidifier, allowing water to flow through the system for approximately five to ten minutes.
Direct the flushed water into a suitable container to observe for any particles. Inspect the water panel and humidifier pad for cleanliness. Repeat the flushing process if necessary until the water runs clear, guaranteeing a clean and efficient humidification process.
Initial System Startup
Following the system flush, proceed with the initial startup. Ensure the water supply valve is fully open and the drain line is unobstructed. Power on the Aprilaire 700 via the connected HVAC system or dedicated power source. Observe the control board for proper initialization and confirm the humidifier pad is adequately wetted.
Monitor the system for any leaks around connections and the water panel. Allow the humidifier to operate for several hours to verify consistent and reliable performance, adjusting humidity settings as needed.
Monitoring Performance
Regularly observe the Aprilaire 700’s operation post-startup. Check humidity levels using a separate hygrometer to confirm accuracy against the control board settings. Inspect the water panel for consistent wetting and ensure adequate water flow. Listen for unusual noises indicating potential issues with the water valve or fan motor.
Monitor for any leaks around connections and the drain line. Consistent monitoring ensures optimal performance and allows for prompt identification of any developing problems.

Troubleshooting Common Issues
This section addresses typical problems like no water supply, humidifier malfunction, or excessive moisture, offering solutions for quick diagnosis and repair.
No Water Supply
If the Aprilaire 700 isn’t receiving water, first verify the main water supply valve is fully open. Check the saddle valve or water line connection for kinks or obstructions, ensuring a clear path. Inspect the water filter for clogging, replacing it if necessary. Confirm the humidifier’s water inlet isn’t frozen, especially in colder climates.
Additionally, examine the solenoid valve for proper operation; a faulty valve may prevent water flow. If issues persist, consult a qualified plumber to assess the water supply line and pressure.
Humidifier Not Turning On
If the Aprilaire 700 fails to power on, initially check the electrical connection at the furnace and the unit itself, ensuring proper voltage. Verify the furnace is actively calling for humidification – confirm thermostat settings and wiring. Inspect the control board for blown fuses or tripped breakers, replacing as needed.
A faulty control board or transformer could also be the cause. If problems continue, disconnect power and consult a qualified HVAC technician for diagnosis and repair.
Excessive Moisture
If experiencing excessive humidity, first verify the humidity setting on the control board isn’t set too high; reduce it incrementally. Inspect the water panel for proper operation – ensure it’s not continuously saturated. Check for leaks in the water supply line or drain line connections, addressing any found immediately.
A malfunctioning humidistat or control board can also cause this issue. If problems persist, consult an HVAC professional for a thorough system evaluation.
Maintenance and Filter Replacement
Regular upkeep ensures peak performance. This includes scheduled filter changes, humidifier cleaning, and adherence to a consistent maintenance schedule for longevity.
Regular Maintenance Schedule
To guarantee optimal performance and extend the lifespan of your Aprilaire 700, a consistent maintenance schedule is crucial. Inspect the unit monthly for any visible issues, like leaks or obstructions.
Replace the humidifier pad annually, ideally before the heating season begins. Clean the water panel every three months to prevent mineral buildup. A thorough system flush should occur twice yearly. Finally, always adhere to filter replacement guidelines for consistent air quality.
Filter Replacement Instructions
Before replacing the filter, always disconnect power to the Aprilaire 700 at the breaker. Locate the filter access panel, usually on the unit’s side or bottom. Remove the old filter, noting its airflow direction—indicated by an arrow.
Insert the new filter, ensuring the arrow aligns with the airflow. Secure the access panel tightly. Regularly replacing the filter maintains optimal air quality and humidifier efficiency.
Cleaning the Humidifier
To maintain peak performance, periodically clean the Aprilaire 700 humidifier. Disconnect power first! Remove the humidifier pad and water panel for inspection. Clean the water panel with a mild bleach solution (10% bleach, 90% water) to prevent scale buildup and microbial growth;
Rinse thoroughly and reinstall. Wipe down the unit’s interior. Regular cleaning ensures efficient operation and prolongs the humidifier’s lifespan.

Warranty Information
This section outlines the Aprilaire 700’s warranty coverage, claim procedures, and contact details for Aprilaire support, ensuring customer satisfaction and peace of mind.
Warranty Coverage Details
The Aprilaire 700 humidifier is covered by a limited warranty, protecting against defects in materials and workmanship. This typically includes coverage for the humidifier itself, but specific durations vary for components like the control board and transformer.
Warranty periods often range from one to five years, depending on the part. Proper installation, following the installation manual’s guidelines, is crucial for warranty validity. Damage resulting from misuse, improper maintenance, or unauthorized repairs may void the warranty.
Claim Procedures
To initiate a warranty claim for your Aprilaire 700, gather proof of purchase – the original receipt or invoice – and the humidifier’s model and serial number. Contact Aprilaire Support directly, providing detailed information about the defect and installation date.
You may be required to return the defective part for inspection. Aprilaire will then determine if the claim is valid and authorize repair or replacement. Shipping costs for returns may be the responsibility of the claimant.
Contacting Aprilaire Support
For assistance with your Aprilaire 700, reach out to their dedicated support team. You can find contact information – phone numbers, email addresses, and online chat options – on the official Aprilaire website.
Be prepared to provide your model number, serial number, and a detailed description of your issue. Their knowledgeable representatives can guide you through troubleshooting steps or facilitate warranty claims.